7 R Projects and R scripts
- R Project: one folder that holds everything for an analysis.
-
R script (
.Rfile): where you write, save, and rerun your code. -
Working directory and paths: how R finds your files, and the
herepackage. - Start fresh: restart R and rerun your script from the top.
If you haven’t installed the following packages, run this code in the Console:
So far, you have typed code into the in-browser cells on this website or straight into the RStudio Console. That is fine for trying things out, but nothing you type there is kept. Real analyses need to be saved, rerun, and shared. From this chapter on, you will write your code in an R script that lives inside an R Project. It takes five minutes to set up, and it prevents most of the “it worked yesterday” and “it can’t find my file” problems that students run into.
7.1 Three things that are easy to mix up
| What it is | What you see | What you do with it | |
|---|---|---|---|
| R Project | A folder that RStudio treats as the “home” of one analysis | A file ending in .Rproj, e.g. eeb_c234.Rproj
|
Double-click it to open your work. Never write code in it. |
| R script | A plain text file of R code | A file ending in .R, e.g. 07_workspace.R
|
Write your code here, save it, and run it line by line |
| Console | Where R runs code right now | The pane with the > prompt (no file) |
Quick tests and one-off commands. Nothing is saved. |
A biology analogy: the project is your lab bench, with all the samples and tools for one experiment in one place. The script is your written protocol: anyone can follow it from top to bottom and get the same result. The console is scratch paper.
7.2 Console or script?
Code typed in the Console is gone once you close RStudio. Code in a script is saved, so you can rerun it tomorrow, fix a mistake halfway through, or send it to a collaborator. A simple rule:
- Script: anything you would need to reproduce a result (loading packages, reading data, every transformation, every plot).
-
Console: one-time or throwaway commands, such as installing a package (
pak::pak("palmerpenguins")), opening a help page (?filter), or taking a quick look at something (glimpse(penguins)).
Do not put install.packages() or pak::pak() in your script: you install a package once per computer, but you load it with library() every session.
7.3 Create an R Project (once per analysis)
In RStudio:
- Go to File > New Project… > New Directory > New Project.
- In Directory name, type
eeb_c234(use no spaces). Under Create project as subdirectory of, choose a place you will find again, such as yourDocumentsfolder. AvoidDownloads, and do not create a project inside another project. - Click Create Project. RStudio restarts and opens the new project.
- Check that it worked: the top-right corner of RStudio now shows eeb_c234 instead of Project: (None), and the Files pane shows the folder with the file
eeb_c234.Rprojin it. - In the Files pane, click New Folder and create a folder named
data. Create another namedfigures.
Your project folder now looks like this (you’ll add the script in a moment):
eeb_c234/                 <- the project folder
├── eeb_c234.Rproj        <- double-click this to open the project
├── 07_workspace.R        <- your script for this chapter
├── data/                 <- raw data files go here
└── figures/              <- saved plots go here
One project for the whole course is enough. For your own research, make one project per paper or analysis.
.Rproj file
Every time you come back, double-click eeb_c234.Rproj (or use File > Open Project…, or the project menu in the top-right corner, which lists recent projects).
Do not start by double-clicking a .R file. That opens RStudio without the project, and R will look for files in the wrong folder (usually your home folder). If the top-right corner says Project: (None), you are not in your project.
On Windows, file extensions are often hidden. Look for the file whose type is listed as R Project (it has a blue cube icon).
7.4 Create and save an R script
- Go to File > New File > R Script (
Ctrl + Shift + Non Windows,Cmd + Shift + Non Mac). - Save it right away with
Ctrl + S/Cmd + S. Name it07_workspace.Rand save it in the project folder (RStudio puts you there by default). RStudio adds the.Rending for you. - While a script has unsaved changes, its tab title turns red and ends with an asterisk (
*). Save often.
Good file names have no spaces, use lowercase letters, and start with a number so files sort in order (07_workspace.R, 08_dplyr.R, …).
A script is read from top to bottom, so organize it that way. Lines starting with # are comments: R ignores them, and they are notes to your future self.
# 07_workspace.R
# Setting up my course project
# Your Name, date

# Packages ----
library(tidyverse)
library(palmerpenguins)

# A first plot ----
ggplot(penguins, aes(x = bill_length_mm, y = bill_depth_mm)) +
    geom_point()
A comment that ends in four dashes (# Packages ----) becomes a section. You can jump between sections with the outline button at the top right of the script pane (Ctrl + Shift + O / Cmd + Shift + O). Ctrl + Shift + R / Cmd + Shift + R inserts a new section.
7.5 Run code from a script
Saving a script does not run it. You run code by sending it to the Console:
| Action | Windows / Linux | Mac |
|---|---|---|
| Run the current line or selected code | Ctrl + Enter |
Cmd + Return |
| Run the whole script, top to bottom | Ctrl + Shift + Enter |
Cmd + Shift + Return |
| Save the script | Ctrl + S |
Cmd + S |
| Restart R (clear everything from memory) | Ctrl + Shift + F10 |
Cmd + Shift + 0 |
A few things that surprise beginners:
-
You don’t need to select a whole pipe. With the cursor anywhere inside a multi-line pipe,
Ctrl + Enter/Cmd + Returnruns the entire pipe and moves the cursor to the next piece of code. - Results do not appear in the script. Printed output shows up in the Console; plots show up in the Plots pane.
-
A
+in the Console means R is waiting for you to finish. You probably have an unclosed parenthesis or quote, or a line ending in|>. PressEscto cancel, fix the code in the script, and run it again.
7.6 The working directory and file paths
The working directory is the folder where R looks for files. When your project is open, the working directory is the project folder. You can check it in the Console:
getwd()The result should end in eeb_c234. This is what makes projects so useful: you can refer to files with relative paths, which start from the project folder:
A few rules for paths:
-
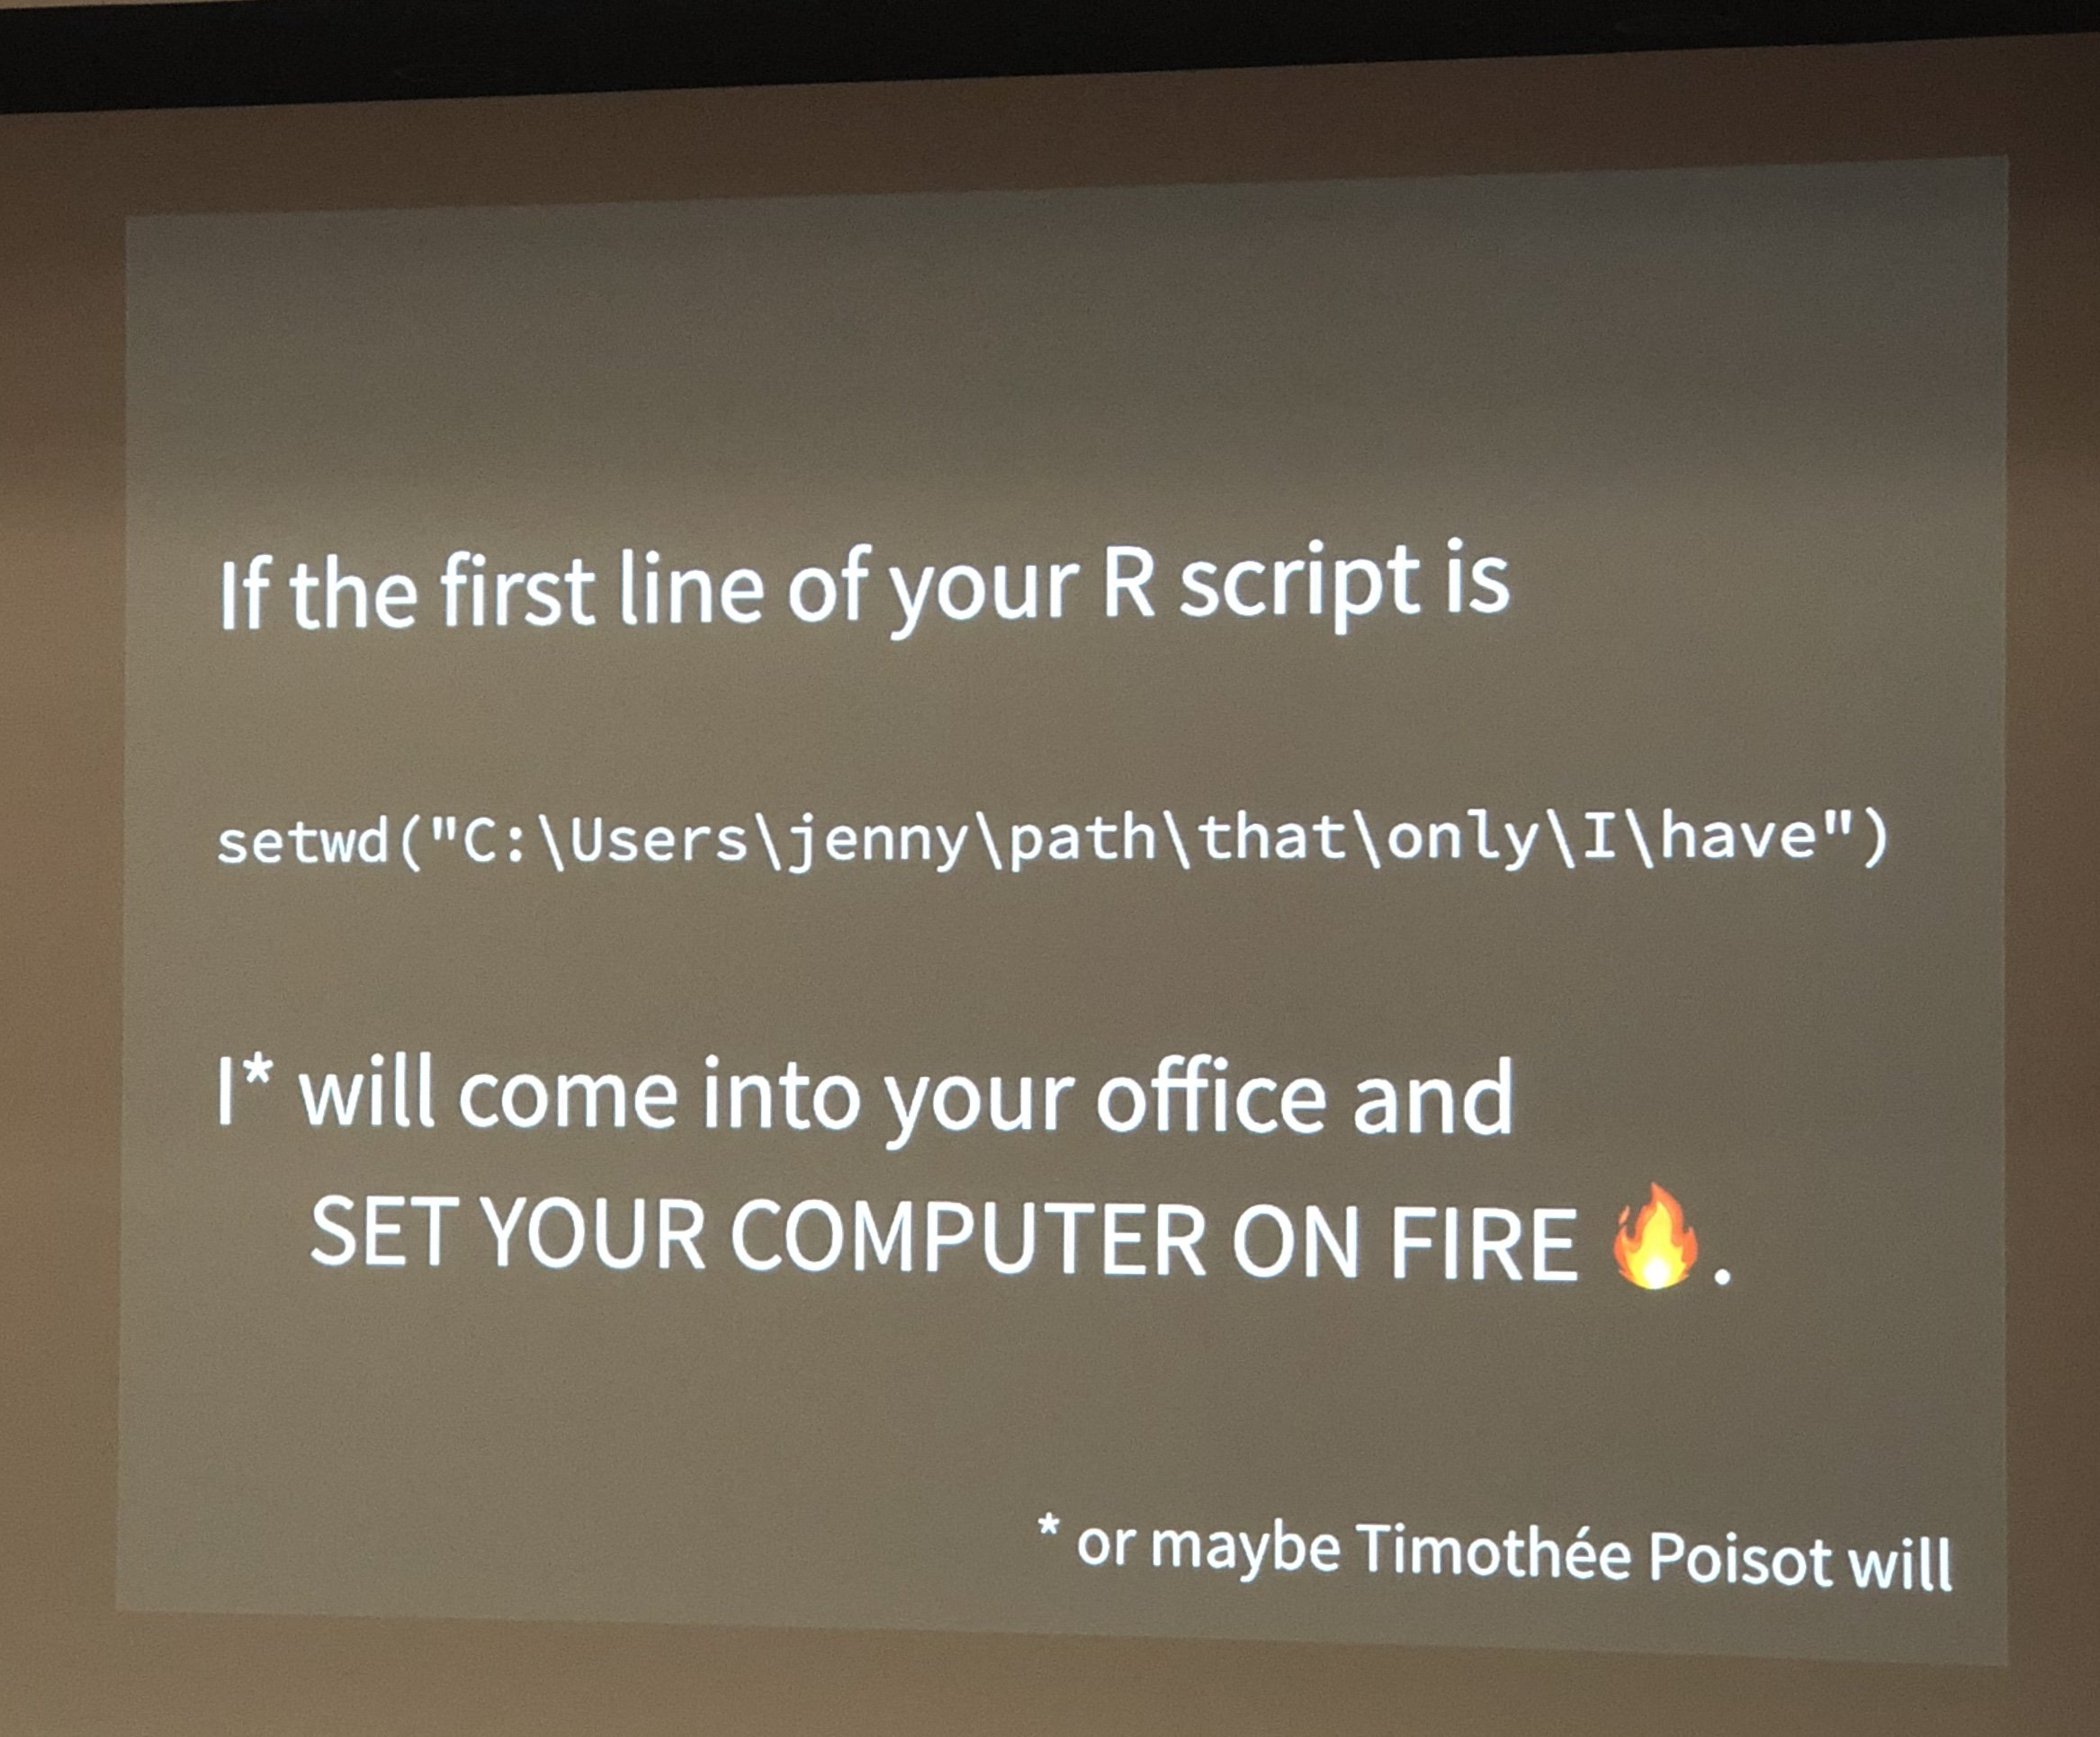
Never use
setwd()in a script. It points to a folder that exists only on your computer. Open the project instead. -
Use forward slashes
/, even on Windows. A single backslash ("data\penguins.csv") gives an error, because\has a special meaning inside R strings. -
Spelling and capitalization must match exactly.
"Data/Penguins.csv"and"data/penguins.csv"are different files on many computers. - To see what R sees, run
list.files()(files in the project folder) orlist.files("data")(files in the data folder).
7.7 Build paths with here
A relative path like "data/penguins_raw.csv" works as long as the working directory is the project folder. The here package makes this more robust: here::here() always builds the path from the project root (the folder with the .Rproj file), no matter where your script or .qmd file lives.
Each piece of the path is a separate argument, so you never type a slash, and the same code works on Windows, Mac, and Linux. We will import our own data files this way in Chapter 10.
.qmd) files?
Quarto documents (covered in Chapter 18) work slightly differently: code inside a .qmd runs from the folder that contains the .qmd file, not from the project folder. If your .qmd sits in the project folder, nothing changes. If it sits in a subfolder, "data/penguins_raw.csv" will fail. here::here("data", "penguins_raw.csv") always starts from the project folder, which is why we use it for importing data from Chapter 10 on.
7.8 Start fresh every time
By default, RStudio saves everything in memory to a hidden .RData file when you quit and loads it back next time. This sounds helpful but causes a sneaky problem: your script may only “work” because of an object you made by hand in the Console last week. Turn it off once:
- Go to Tools > Global Options… > General.
- Uncheck “Restore .RData into workspace at startup”.
- Set “Save workspace to .RData on exit” to Never.
Then make this a habit: before you submit or share a script, restart R (Ctrl + Shift + F10 / Cmd + Shift + 0) and run the whole script from the top (Ctrl + Shift + Enter / Cmd + Shift + Return). If it runs without errors, anyone with your project folder can reproduce your results. Your script, not your R session, is the real record of your work.
Positron does not need a .Rproj file: in Positron, a project is simply a folder. Use File > Open Folder… and choose your project folder (for example, eeb_c234); the working directory is then that folder. If you already made the project in RStudio, just open the same folder.
Create a script with File > New File… > R File. Ctrl + Enter / Cmd + Return runs the current line or pipe, and the Run (▶) button at the top right of the editor runs the whole file. Everything else in this section (relative paths, no setwd(), restart and rerun from the top) applies unchanged.
7.9 When things go wrong
| What you see | Most likely cause | Fix |
|---|---|---|
'data/xxx.csv' does not exist in current working directory |
The project is not open, the file is not in data/, or the name is misspelled |
Check the top-right corner for your project name, run getwd(), then list.files("data")
|
could not find function "ggplot" |
The package is not loaded in this R session (restarting R unloads everything) | Run the library() lines at the top of your script |
object 'my_data' not found |
The line that creates my_data hasn’t been run in this session, or it was only ever typed in the Console |
Run your script from the top; make sure the line is in the script |
The Console shows + and nothing happens |
Unfinished code: a missing ) or ", or a trailing |>
|
Press Esc, fix the code, run it again |
| You edited the script but the output didn’t change | Saving is not running | Run the line again with Ctrl + Enter / Cmd + Return
|
| RStudio opens but your files aren’t in the Files pane | You opened RStudio from its icon or from a .R file |
Open eeb_c234.Rproj
|
Exercise
Set up your course project. You only do this once.
- Create an R Project called
eeb_c234in a folder you’ll find again. - Inside it, create the folders
dataandfigures. - Turn off saving and restoring
.RData(Tools > Global Options… > General). - Create a new R script and save it as
07_workspace.R. Copy in the example script from Create and save an R script. - In the Console, run
getwd(). - Restart R, then run the whole script.
- Close RStudio. Reopen your work by double-clicking
eeb_c234.Rproj.
- After step 1: the top-right corner of RStudio shows eeb_c234.
- After step 4: the script tab reads
07_workspace.Rwithout a red title or asterisk. - After step 5: a path that ends in
eeb_c234. - After step 6: the packages load with no errors and the penguin scatter plot appears in the Plots pane. (Messages about “attaching packages” or “conflicts” are normal, not errors.)
- After step 7: RStudio opens with
07_workspace.Rstill open in the editor and eeb_c234 in the top-right corner.
7.10 From now on
Every chapter from here on starts the same way: open eeb_c234.Rproj, create a new script named after the chapter (08_dplyr.R for the next one), and copy each example into it. You’ll use this same project for the problem sets.